Install CentOS 7 on VirtualBox for Network Access

In this article, I will explain centos virtualbox bridge mode. That is, how to install it so that it appears as a local ip machine. In fact, you may need to make the machine available from the outside and therefore create a virtual server to redirect a specific router port to a specific virtual server ip.
Centos is a very popular distribution because it is stable, fast and very up-to-date. We can say that it is part of the RedHat family. In fact, the Fedora project represents the desktop equivalent and the CentOS project represents the desktop equivalent.
If you get bored reading the whole article or if there is some step you didn't understand, you can watch the video at the bottom of the page or leave a comment. I will get back to you as soon as possible.
1. Downloading the CentOS 7 ISO
First, you need to download the iso from the site you can find by googling it. You can also do this procedure on a physical machine by burning the iso onto a CD. In this case, proceed directly to step 3. If you do not know how to burn the iso of a cd, which does not mean simply copying the file onto the cd, I recommend reading a guide on how to burn an iso file onto a cd.
2. Configuring the virtual machine
After downloading the iso, you must open VirtualBox. If you have not yet installed it, we recommend reading an article on how to install virtualbox.
You must click on the blue circular icon to start the wizard that will allow you to create your virtual machine. Enter a name, I chose to enter a name containing the word CentOS because this way the system automatically chooses the template for the most similar operating system. If you want to enter a different name you can do so but you will have to choose the appropriate template from the drop-down menus, in this case the type must be Linux and the version must be RedHat (64bit).
I chose the 64bit system because it is the best choice if we do not want to have problems with memory management and file size. If you cannot see 64-bit operating systems in the drop-down menu, it means that you have not enabled virtualisation in your bios or your hardware does not support it. So if you don't know how to enable this option, I recommend reading an article on how to enable virtualisation in the bios.
Then click on next and choose the amount of ram, I recommend at least 512MB, I left the recommended setting which is 1024MB.
Click on next and you will be asked to create a file system, you can choose from various types of file system. I chose the (VirtualBox Disk Image) because I have no need to share this file system with other virtualisation platforms.
The next screen asks if you want to dynamically allocate space or if you want a fixed specified size. The difference between dynamically allocated space and specified space is that with the first option, you temporarily save disk space because, although the virtual hadisk is set to a maximum size, this space has not yet been allocated. The second option, on the other hand, already allocates the set space and generally increases performance.
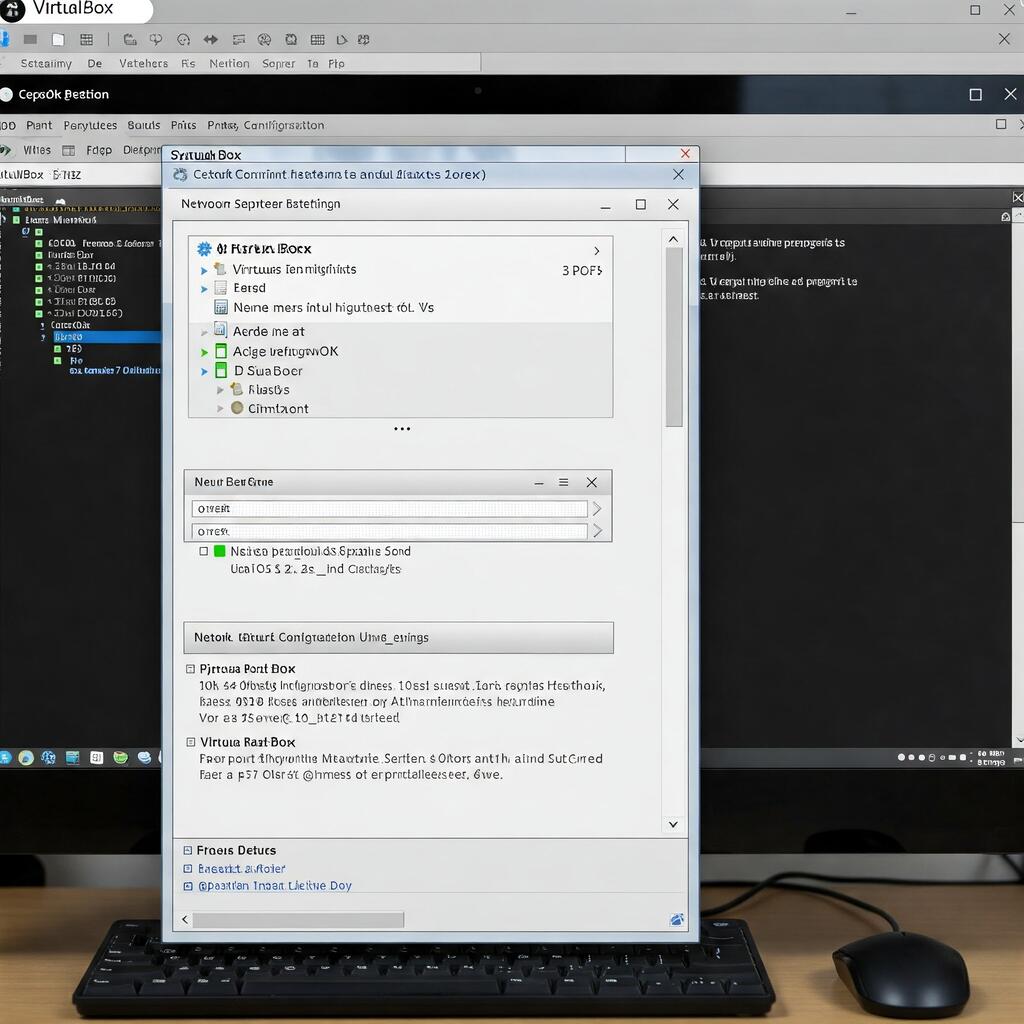
After setting up the virtual hard disk, we return to the main screen of virtualbox, displaying our virtual machine on the left. Right-click on the virtual machine and choose ‘settings’ then select ‘network’ from the menu on the left and set network card 1 as active and connected in ‘Card with Bridge’ mode and make sure the card name is that of the network card connected to the network of the computer hosting the virtual machine.
Now we need to mount the iso so that the virtual machine sees it as if it were a CD. Select ‘Storage’ from the left-hand menu under IDE controller select the cd image and choose the cd icon on the right. I, having already tried this procedure, already have the iso in the quick selection menu. If it is your first time doing this test, you will have to select the iso file by entering the path to the image you downloaded in step 1.
Click on the ‘OK’ button and start the virtual machine by pressing the green arrow to the right.
3. Installing the operating system
The virtual machine window will open and you will notice that you are prompted to choose. If you do not touch anything, the system will check the image. You can still select direct installation with the ‘up’ and ‘down’ arrows next to the numeric keypad. Don't get confused with ‘pag up’ and ‘pag down’. The arrows I say, there are 4 and they form a kind of triangle.
If you have never used virtualbox, you will see messages informing you how to activate the mouse within the virtual machine. In fact, what we need to know is that to act with the mouse inside the virtual machine, we must click inside the window twice with the left mouse button. To exit and use our desktop normally, simply press the right ‘ctrl’ key on your keyboard. If you have difficulty assimilating these concepts, we recommend reading an article on how to move around inside the virtualbox window.
After the installation has started, you will see a window after a while asking you for the language. Select the language and click on the blue button in the bottom right-hand corner. A window will open in which you must choose the destination of the installation: our virtual hard disk. I selected the option ‘I wish to make more space available’ to select the entire file system. I then clicked on the blue confirmation button in the top left-hand corner and chose ‘delete all’ in the bottom right-hand window that opened. To confirm, I then clicked on the ‘Recover Space’ button.
There are better ways to partition a disk, especially if you want a high-performance and secure system, but I won't go into that in this article. If you want to learn more about it, I recommend reading an article on the various types of configuration for partitioning a linux system.
It is now time to configure our network, so let's click on ‘network & hostname’. We activate our network card by simply clicking on the button next to ‘OFF’ which will change colour and label to ‘ON’ status.
Theoretically, in this way, the system should automatically hook up to the DHCP server and configure itself, but I much prefer to enter the data by hand. I then clicked on the bottom left button ‘Configure’, selected the ‘IPV4 Settings’ tab in the window that opened, selected ‘manual’ as the method and entered the local ip address 192.168.1.29 in the address list because it is not used by other machines. I chose mask 255.255.255.0 and gateway 192.168.1.1 because that is the ip-address of my router. As a DNS server I always prefer to enter the google one because it seems the fastest and most reliable, so I entered 8.8.8 .
When you click on the ‘save’ button, you will notice that the settings of your virtual network card have changed. I have chosen the settings appropriate for the internet network, I have an adsl router.
If you don't know what settings to enter, you can skip the manual configuration and leave everything in automatic. The system, if a ‘DHCP’ server is available, should automatically detect ip addresses. This is not wise, however. Therefore, if you feel the need to learn more and understand what you are doing, I recommend reading an article on network theory.
To proceed, you need to click on the blue button at the top left and you will return to the previous screen. Here, you will have to confirm everything by clicking on the blue button in the bottom right-hand corner ‘Start Installation’.
During the automatic installation procedure, which can take several minutes, you will be asked to set a root password (the administrator user of linux systems). Click on the key icon and enter two identical and possibly matching complex passwords, which you confirm by clicking on the blue button in the top left-hand corner.
If you do not know how to choose a complex password, I recommend reading an article on how to choose a complex password.
At this point, after some time, you will realise that the procedure is complete when you see the blue ‘restart’ button in the bottom right-hand corner, which you click on.
On the next reboot, the system will start automatically, you will enter ‘root’ as the user name and the password you have chosen in the linux shell. The end.
If you follow the steps I have described, you should have no problems because I have tested everything step by step. I did this test with virtualbox installed on a windows 10 machine. If you don't know the difference between the two, I recommend reading an article that explains the differences between a development environment, a test environment and a production environment.
Never perform procedures that you are not fully familiar with in a production environment, and never without a backup. You can see all the steps in this video.